Last updated November 22, 2026
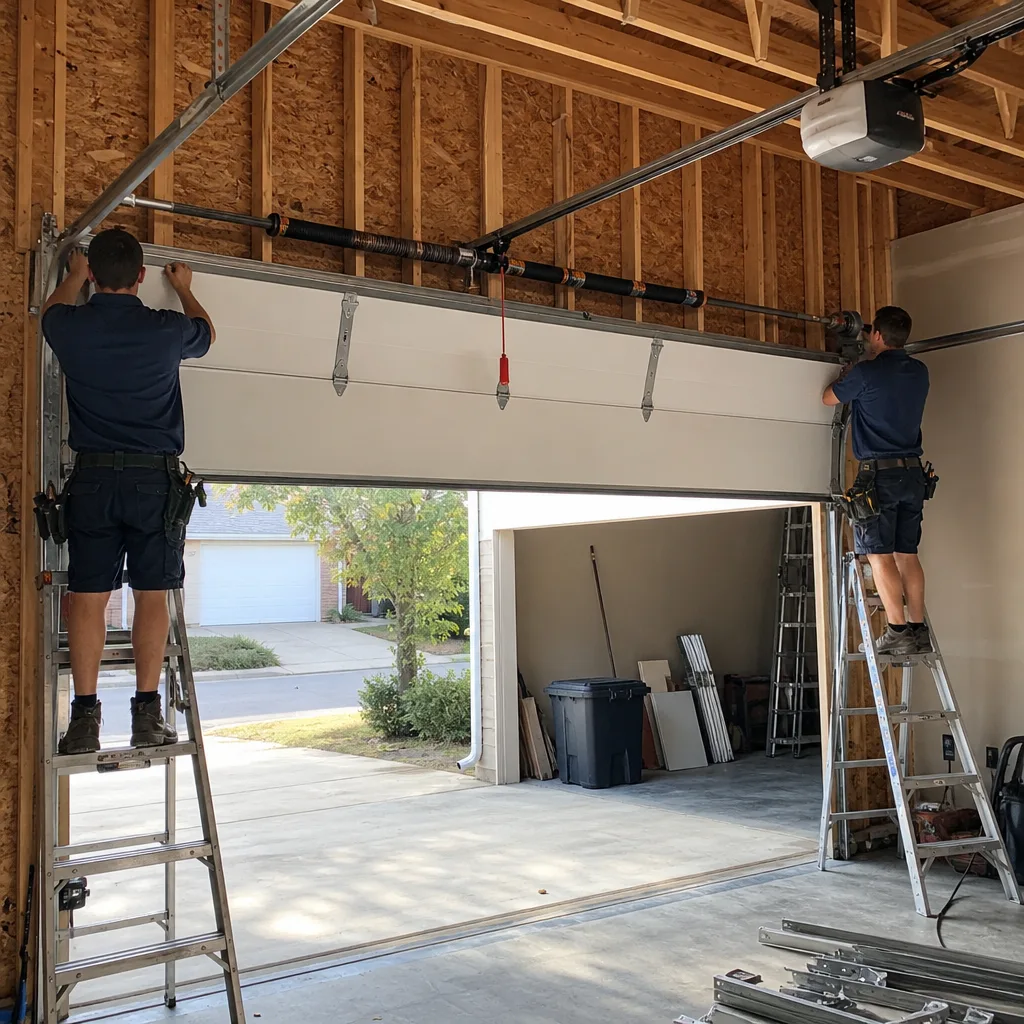
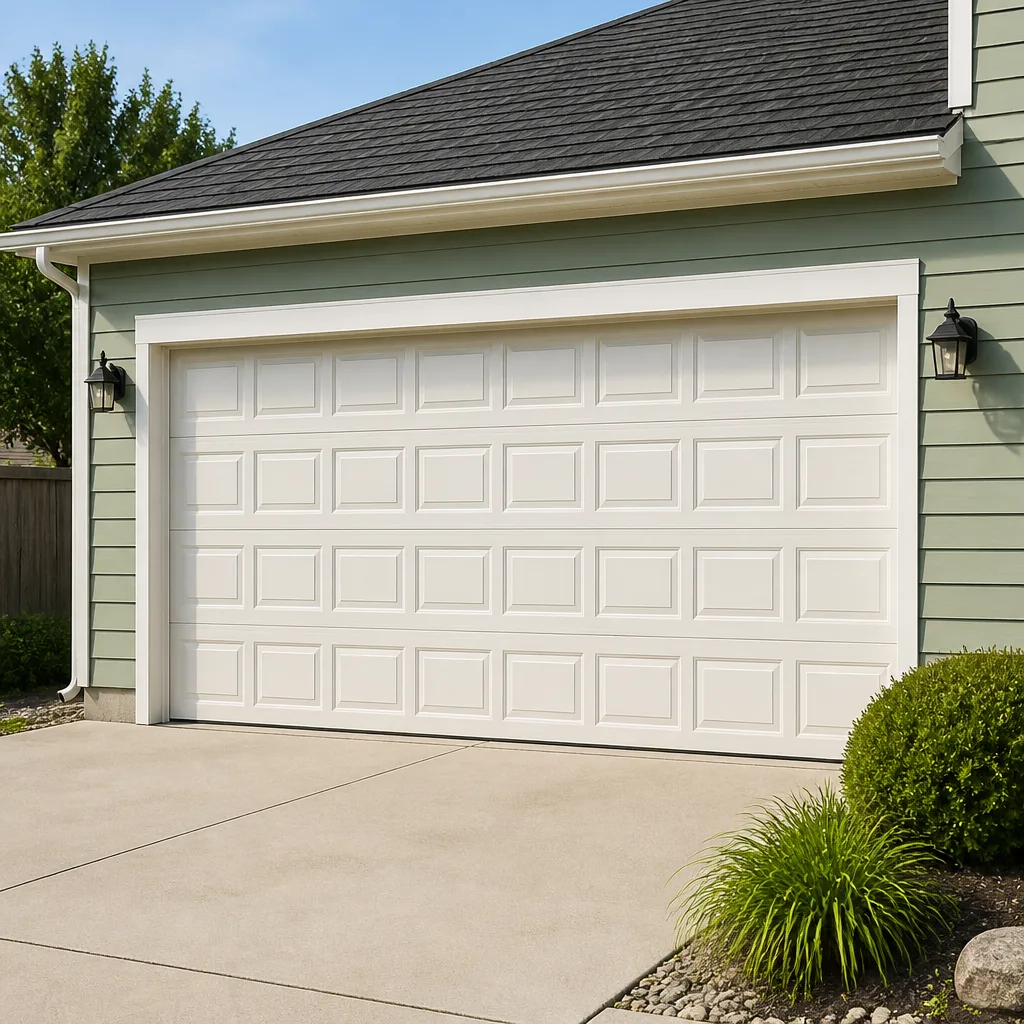 Raised-panel steel
 Carriage house
 Modern flush
 Full-view glass
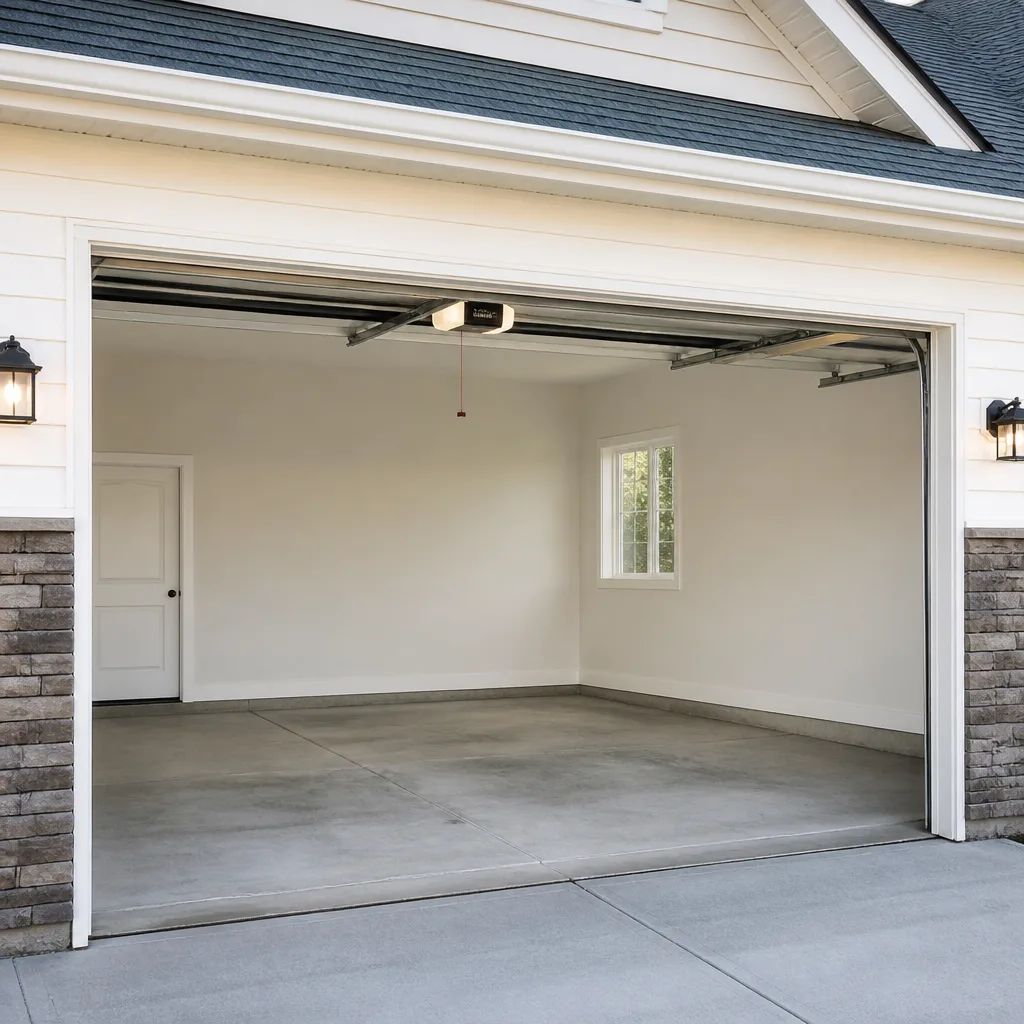 LiftMaster openers
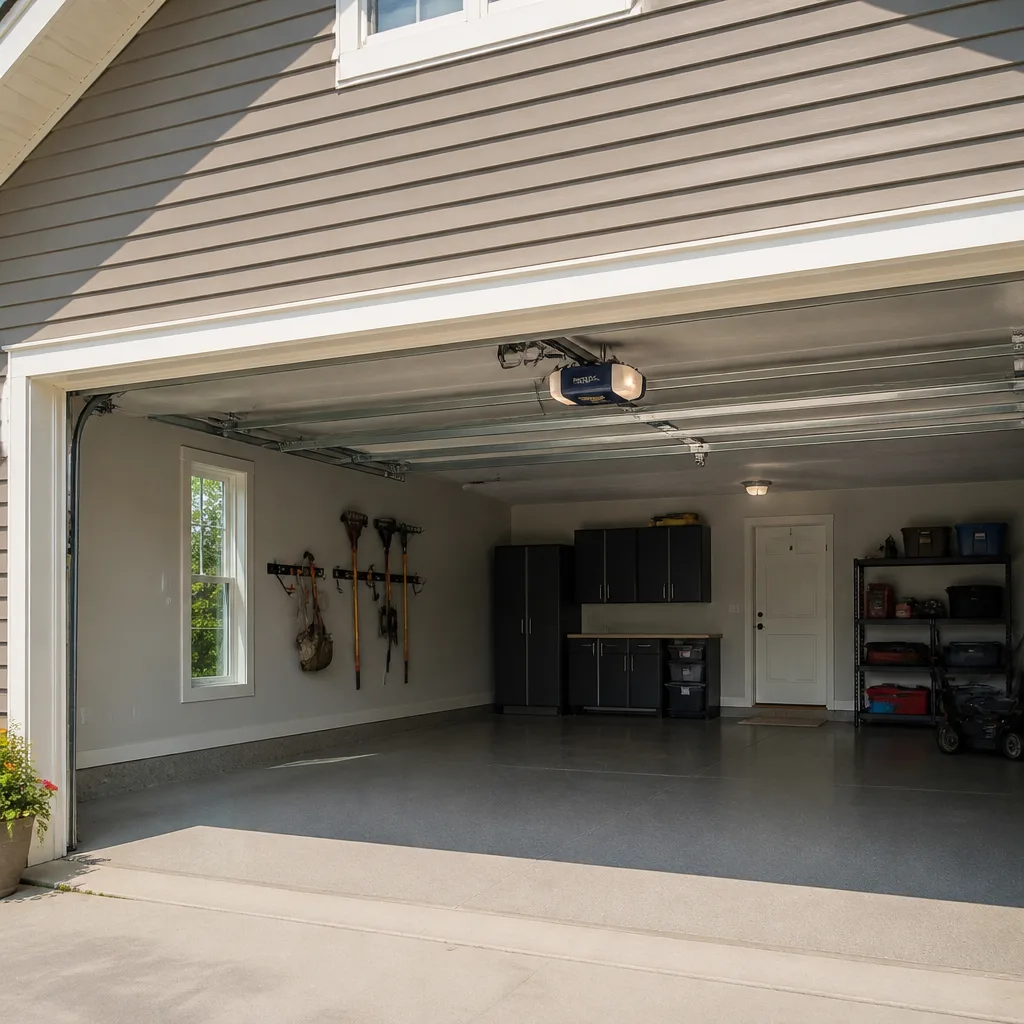 Chamberlain openers
Full 25-point door and opener safety check with every visit - springs, cables, rollers, tracks, and your LiftMaster or Chamberlain opener included
You get a price before we start. It does not change when the pro arrives.
Get your free estimateGarage Door Repair Maintenance Checklist for Springfield Homeowners
Lubricating a roller that’s already developing a flat spot doesn’t extend its life. It just makes the grinding quieter until the door jams on a Sunday night. That’s the problem with most maintenance checklists: they hand you a list of tasks with no order, so you spray, tighten, and adjust whatever’s convenient first, and you miss the failure that was actually forming underneath. Sequence matters more than the checklist itself. In this guide we walk through a diagnostic-first workflow built for Springfield homes – what to watch and listen for before you touch hardware, the tolerance specs that tell you when something is genuinely out of range, which tasks create new problems if done out of order, and how to keep a simple log so the first service call catches a pattern instead of a single breakdown.
Quick Answer
A good garage door maintenance checklist starts with a full open-and-close cycle with no tools in hand – watch the travel, listen for grinding or popping, and check the balance – before you lubricate or adjust anything. Then work in a fixed order: balance and spring tension, cables and drums, rollers and hinges, track alignment, weather seal, then the opener’s limits and force settings last. Doing adjustments before you’ve diagnosed the source is how a small wear item turns into a stuck door.
Styles & brands we work with
- Raised-panel steel
- Carriage house
- Modern flush
- Full-view glass
- LiftMaster openers
- Chamberlain openers
Table of Contents
- Why Diagnostic-First Beats a Task List
- Step 1: The Full Cycle Inspection
- Step 2: The Balance Test and What Your Springs Are Telling You
- Step 3: Cables, Drums, and the Tension Clues
- Step 4: Rollers, Hinges, and Track Alignment
- Step 5: Weather Seals and Ohio Humidity
- Step 6: Opener Limits and Force Settings (Do This Last)
- How to Keep a Maintenance Log That Helps a Technician
Why Diagnostic-First Beats a Task List
Most garage door checklists are put together to sell parts. Lubricant here, roller kit there, a new opener if the old one is a few years in. That’s not a knock on the products – good lubrication genuinely extends roller life. The trouble is the order. If you grease a hinge that’s already bent, you’ve masked the symptom and made the noise go away without fixing the cause. If you adjust a limit switch before you’ve checked cable tension, you’re calibrating the opener to a door that’s sitting crooked. The door runs, the settings look right, and the real problem keeps compounding.
In Springfield, where doors cycle through hot, humid summers and cold, snowy winters, wear shows up faster on certain components than others. The freeze-thaw cycle alone works hinges and rollers loose, and the humidity we get from late spring into fall keeps every pivot point working harder. That’s why the sequence below is built to find the stressed parts first and only then decide what to tighten, lubricate, or replace. You’ll spend less time and you’ll catch the compounding failures before they become emergency calls. If anything in the sequence turns up a problem you can’t safely address, our garage door repair team can take it from there.
Step 1: The Full Cycle Inspection
Before you touch a single bolt, run the door and pay attention. This is the highest-value five minutes in the whole checklist, and most people skip it. You’re building a baseline – what the door does today, so you can tell what’s changed in a month.
Stand back at a safe distance, ideally off to one side rather than directly under the door, and run it both ways. Watch and listen for:
- Hesitation at the start: If the door jerks before it moves smoothly, the opener is fighting something – a binding track, a worn roller, or a spring that’s lost tension.
- Uneven travel: One side reaching the floor before the other means the door is cocked. That’s a cable, drum, or track issue, not an opener issue.
- Grinding or squealing: Metal-on-metal sound usually points at rollers or hinges. A sharp pop as the door crosses a certain point points at a track or a spring.
- Shuddering on the way down: Often a sign of worn rollers or a section that’s starting to sag. Don’t lubricate this away – find out why.
- Speed changes mid-travel: The door should move at a steady pace. A sudden fast drop near the bottom is a warning sign that something in the balance is off.
Don’t make any adjustments yet. Note what you saw, when it happened in the cycle, and how loud or pronounced it was. That note is worth more to a technician than a vague “it’s been acting weird.” We work on all eight of the major residential brands – LiftMaster, Chamberlain, Genie, Clopay, Amarr, Wayne Dalton, Craftsman, and Raynor – and the diagnostic notes a homeowner brings are often the fastest route to the actual problem, whichever platform is in your garage.
Step 2: The Balance Test and What Your Springs Are Telling You
Balance is the foundation of every other adjustment, which is why it comes before anything else. A garage door spring system is designed to carry most of the door’s weight, so the opener only has to nudge it. When springs lose tension, the opener takes on weight it was never meant to carry, and it starts wearing out. Balance testing tells you which of those you have.
- Close the door and detach it from the opener using the emergency release pull (usually a cord hanging from the trolley).
- Lift the door by hand to about waist height, then let go.
- Watch what it does. A balanced door should hold roughly where you left it, maybe drifting a few inches.
- Try the same at half-open and three-quarters-open. The door should feel similar at all three positions.
- Reattach the door to the opener and confirm it still cycles cleanly.
What “out of range” looks like. If the door drops fast from the halfway point, the springs have lost significant tension. If it stays up but feels much harder to lift than it should, the springs are weak or the track is bound up. If it holds in one position but slams in another, that’s a spring or cable issue – not a lubrication issue. On a torsion system, watch the springs when the door is closed: they should be wound tight with even, unbroken coils. On an extension system, gravity holds a spring at rest and lowers it to coil; uneven extension, visible rust, or gaps in the coils mean it’s time to call.
Safety note, and we mean this. High-tension springs, cables, and drums are the most dangerous part of any garage door. The springs are under enough load to cause serious injury, and the correct repair requires specific winding tools and knowledge of the specific hardware on your door. Do not try to wind, replace, or loosen springs yourself. If the balance test shows the door isn’t holding, that’s the point to stop and bring in a professional. Our garage door spring repair work is a core specialty in Springfield, and it’s the call we handle most – a broken spring is the single most common garage door failure there is.
Step 3: Cables, Drums, and the Tension Clues
Cables connect the springs to the bottom corners of the door. They’re under constant tension and they work in pairs, which means the same wear pattern on both sides is normal and a single-side failure is a red flag. Checking them comes after the balance test because a door that isn’t balanced will put unnatural stress on the cables, and you want to judge them on a correctly loaded system.
Look for these signs, using a flashlight and your eyes only:
- Fraying at the drum: Individual strands separating from the twisted cable, especially where the cable spools around the drum. This is a stop-now condition – do not keep cycling the door.
- Kinks or bends: A kink means the cable has been overloaded at some point and its strength is compromised.
- Slack on one side: Compare the two cables. One noticeably looser than the other means something on that side has shifted – a drum, a spring, or a cable that’s starting to pull free.
- Rust and moisture: Rust on a cable is more than cosmetic. Sprung doors in Springfield see plenty of wet springs, and rust that eats into the strands softens the whole cable.
- Drum wobble: A drum that moves when the door cycles – even slightly – means the set screws are loose or the drum has worn. This is not a homeowner-fixable item.
Cables are another part we recommend leaving to a professional. Replacing a cable means releasing spring tension, and that’s exactly the procedure that causes injury when done without the right tools. If you see fraying, kinks, or a slack side, stop using the door and get it looked at. What you should do yourself is note the location of the problem on each cable, so a technician knows which side to check first. That note leads to a faster, cheaper service call, because the technician isn’t guessing which end of the door to investigate.
Step 4: Rollers, Hinges, and Track Alignment
Now that the door is balanced and the cables are cleared, you can work on the contact parts. This is where most of the lubrication happens and where most wear shows up first. Rollers ride in the track; hinges connect the door’s panels. Together they take the daily movement that grinds and squeals over time.
Rollers. Each roller should spin freely in its bracket and ride smoothly in the track. Check them one by one:
- Flat spots: A roller that stopped turning has dragged itself into a flat spot. Replace it – lubricant can’t fix a roller that’s already worn out.
- Wobble: A roller that wiggles in the bracket has a worn bearing or a loose stem. Both are replacement items.
- Grinding when spun by hand: The bearing is dry or shot. A dry bearing that still turns is a good candidate for lubrication; one that’s already failing is a replacement.
Hinges. Look for bent hinge plates, loose screws, and worn pivot points. A hinge that’s bent is holding the panels out of alignment and should be replaced, not straightened – a bent hinge tends to re-bend. Loose screws in the hinge plates are common in Springfield doors because the seasonal wood movement in wood-framed openings loosens them; a slightly larger screw in the same hole often solves it. Don’t drill new holes near a panel gap just to find fresh wood.
Track alignment. Stand where you can see the whole track from the side and look for bends, dents, or track sections that no longer meet cleanly. Look for gaps between the roller and the track – the roller should sit in the track without visible daylight on the sides. On a torsion-style door, most manufacturers spec the track so the roller stays in the channel with a small amount of play; if you can see a good half-inch of daylight past a roller, the track is out of position. Don’t try to bend the track back yourself – track hangers and mounting brackets are involved, and getting it wrong makes the whole door worse. Note which side and which section, and have a technician re-align it.
Lubrication itself belongs here. Use a proper garage door lubricant – not WD-40, not silicone spray that’s made for sliding glass. We like a lithium or white grease for hinges, springs, and pivot points, and powdered graphite or a spray lubricant for rollers (avoid grease on nylon rollers if the roller is new and runs clean out of the box). In the Ohio humidity, lighter silicone sprays on the springs and hinge pins can wash out in wet weather; a heavier grease holds up longer. If a hinge or roller is already failing, lubricating it first is one of the biggest mistakes you can make – it just quiets the symptom and hides the wear.
Step 5: Weather Seals and Ohio Humidity
The bottom seal is the strip of rubber along the bottom of the door. It keeps out water, debris, and – in a Springfield garage that shares a wall or connects to the house – cold air and pests. Check it by closing the door and looking for gaps.
How to check the seal. Close the door, then look at the gap between the bottom edge and the floor. A properly set seal compresses slightly against the floor, so there’s no visible daylight. If you can see a gap anywhere across the width, the door is either not traveling far enough down or the seal has flattened. Some doors have an adjustable bottom bracket; check the opener’s close limit before you assume the seal is the problem, sticking to the sequence: seal problems can be caused by the opener, which is why opener settings come next.
What the humidity does. The bottom seal on a garage door takes real punishment here. Late spring through early fall, our humidity is high enough that a rubber seal that’s already cracked will pull moisture in and start to go soft or moldy from underneath. In a garage without good ventilation, the seal can lose its shape faster than the rest of the door. Check the seal during a wet stretch, not just a dry day – you want to see whether the seal is actually repelling water or just holding it against the floor.
Side seals and top seal. The same logic applies to the side and top seals. Side seals on Springfield doors often pull loose at the bottom corner, where water collects. Check that the seal is flush against the door and that the framing is dry. If you find moisture inside the garage near the door opening, deal with the seal before anything cosmetic.
What to replace. Bottom seals are a homeowner-friendly replacement. They’re cheap, they slide or screw into a channel, and they need no special tools. Measure the width of the door before you buy and get a seal that’s rated for the door’s thickness. Side and top seals are a slightly bigger job – measure twice. If the seal has pulled out of the retainer, the retainer itself might be bowed or damaged, and that’s a job for a pro.
Step 6: Opener Limits and Force Settings (Do This Last)
This is the step where the sequencing problem bites hardest. Opener limit and force settings should be the last thing you touch, because every setting you make is only as good as the door it’s adjusting for. If the cables are looser than they should be, or the track is out of line, the door will travel unevenly and your “correct” limits will actually be calibrated to a faulty door. Then you’ll adjust them again next month when the door starts behaving differently. Diagnose, then adjust.
Most modern openers let you set two things: the travel limits (how far up the door goes and where it stops) and the force (how hard the motor pushes before it reverses or stops). On a LiftMaster or Chamberlain system, these are typically handled through the up and down buttons on the motor head or, on newer models, through the wall control. A Genie or Craftsman unit usually follows its own sequence, spelled out in the manual. That’s one reason we note which platform is installed before any adjustment – our opener garage door opener repair work covers both the belt-and-chain and the wall-mount drive types, so we can match the adjustment to the actual hardware in Springfield rather than guessing at a universal sequence.
Safe adjustment practice. Before you adjust the limits, put a 2×4 flat on the floor under the door and cycle it closed. If the door doesn’t reverse or stop when it meets the board, the force setting is wrong, and you should not lower it further. Two-inch test boards catch a stuck close limit before it becomes a damaged car or a bent door panel.
What not to do. Don’t turn the force adjustment up to “cure” a door that’s binding. A binding door with a high force setting closes with the same momentum the door would have had before – and the opener provides the extra power. Fix the door; don’t overpower the problem. If your door has downforce adjustment, that’s an emergency-reverse test, not a fix for a stiff door.
When to stop. If you make a limit or force adjustment and the door still misbehaves, stop and call. You’ve moved past the point where DIY settings help, and a regular garage door repair call is much cheaper than the damage a misbehaving door causes.
How to Keep a Maintenance Log That Helps a Technician
A simple log is the single most underrated maintenance tool a homeowner has. A snapshot of a single service call only tells a technician what’s wrong today. A log that goes back a few months shows the pattern – the same hinge starting to work loose, a door that’s hesitating more each spring, a roller on one side that keeps wearing before its opposite. That pattern is what lets a pro spot the underlying problem on the first visit.
Write it down plainly. You don’t need an app or a spreadsheet unless you want one. A notebook on a shelf near the door works fine. Keep these:
- Date and what you did. Lubricated rollers, checked seal, adjusted limits – note it each time.
- What you observed during the cycle. “Door hesitates at the start,” “popping around the middle,” “left side drops first.”
- What you changed. If you replaced a roller or a seal, note the part number or a quick description.
- Photo of the door tag. The door’s brand and model are usually stamped or stickered on the door or inside the garage door opener housing. Snap a photo and keep it in the log – a technician knows your hardware before the visit.
- Opener type. Belt, chain, screw drive, or wall-mount. Note the brand. That detail matters when a tech arrives.
A log like this also saves you money in a smaller way: you won’t pay for a technician to come out and simply lubricate something you already lubricated, and you won’t have to answer “have you already tried adjusting it?” from scratch. And if you ever move to a different home in Springfield, the log makes the new owner’s maintenance that much easier.
Common Mistakes to Avoid
- Spraying lubricant before you diagnose. Grease on a failing part just hides the wear noise. If a roller is grinding because it sat still and flat-spotted, lubricating it doesn’t fix the flat spot. The door jams again on a Sunday night, just a few weeks later.
- Adjusting opener limits while the door is out of balance. You’ll chase the limits forever, because each change moves the door’s behavior without fixing the source. Balance first, then limits.
- Using silicone spray on moving parts in wet weather. Lightweight silicone sprays wash off the springs and hinge pins in a Springfield wet spring. Heavier grease lasts longer and works better for the pivot points.
- Over-tightening track bolts. Track bolts need to be snug, not crushed. Over-tightening bows the track, and a bowed track causes the wear you just tried to prevent.
- Replacing a single spring when you have a matched pair. Springs that were installed together are built to fail close together. Replacing just one throws off the balance and usually means replacing the second one within a short stretch.
- Fixing the seal before checking the opener. A bottom seal that won’t close may be a travel limit, not a seal problem. Check the opener’s close limit first, or you’ll install a new seal to mask a door that isn’t traveling far enough.This is one of the most common misdiagnoses we see on Springfield doors.
- Skipping the test board. Adjusting downforce without testing a reversal is how doors end up crushing objects or damaging cars. Put down a 2×4 and test.
See the difference
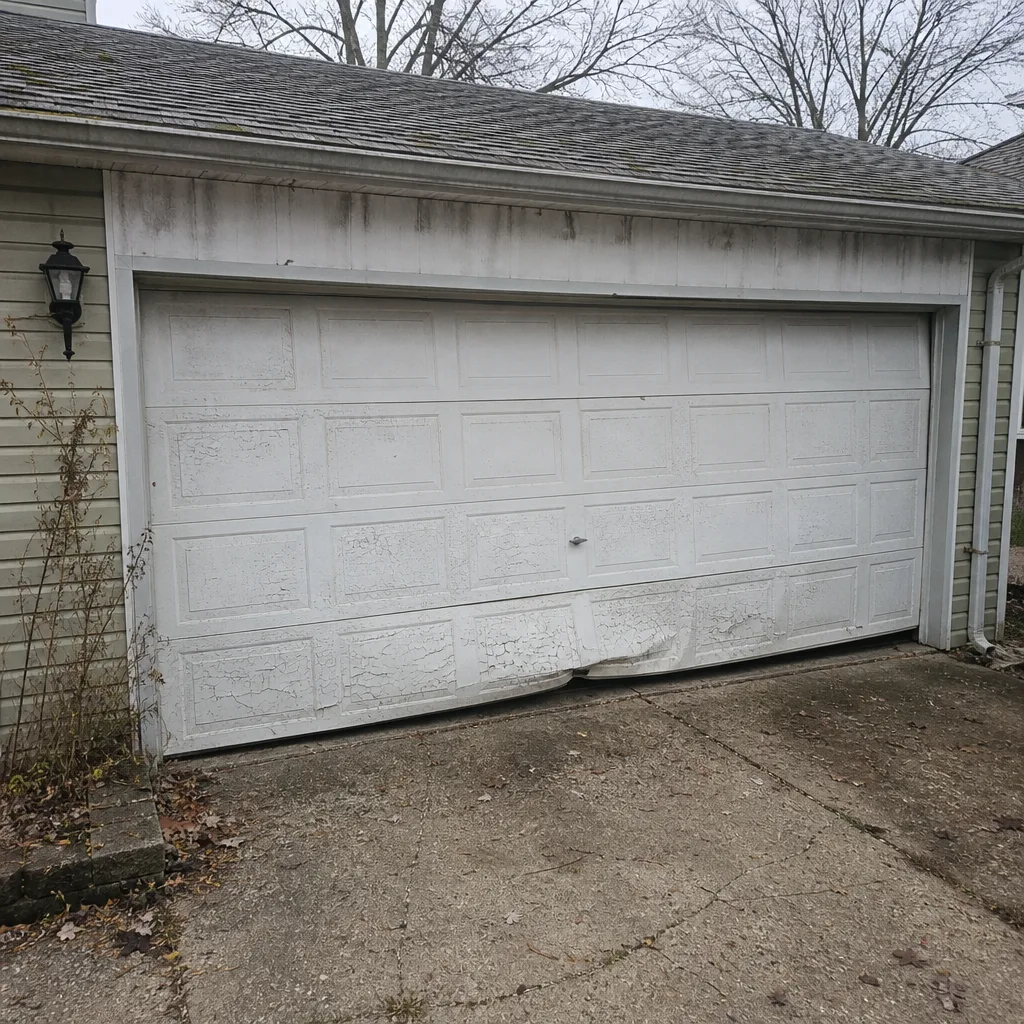 Before
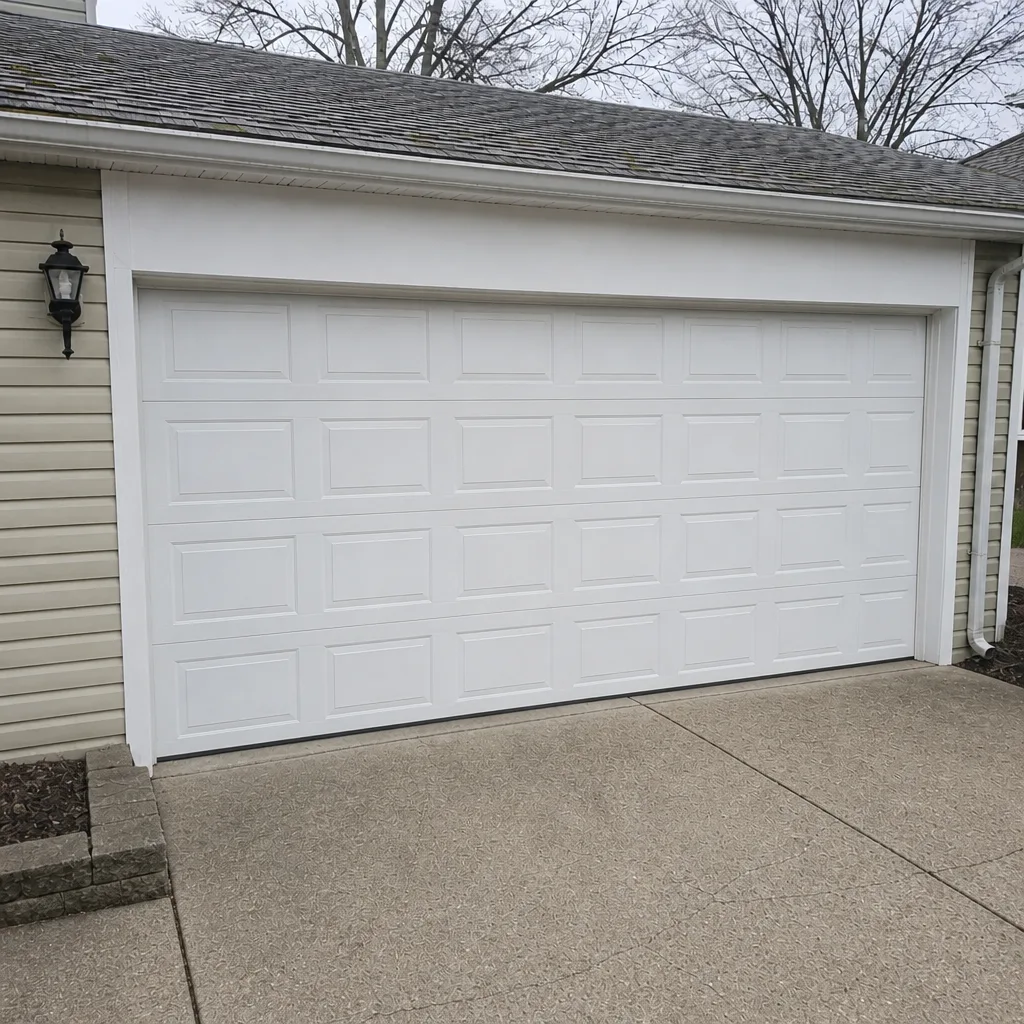 After
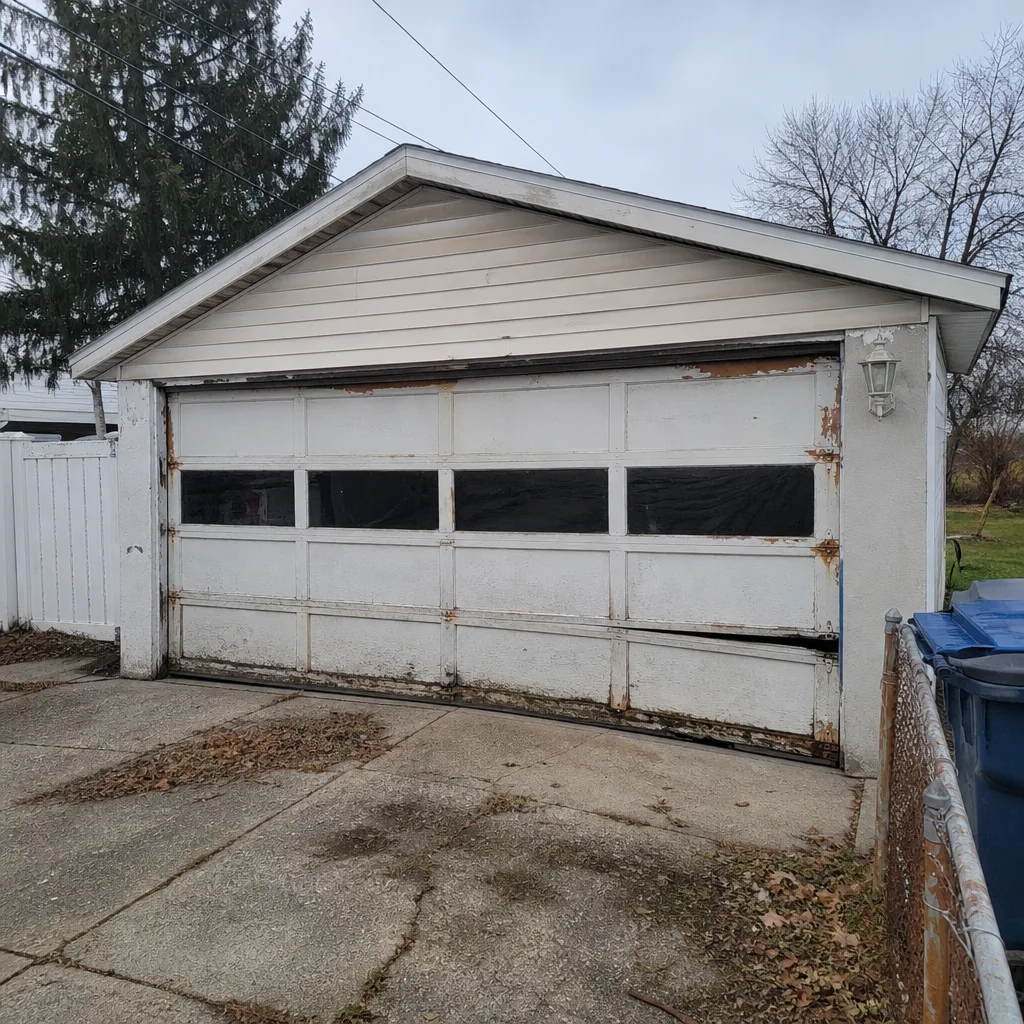 Before
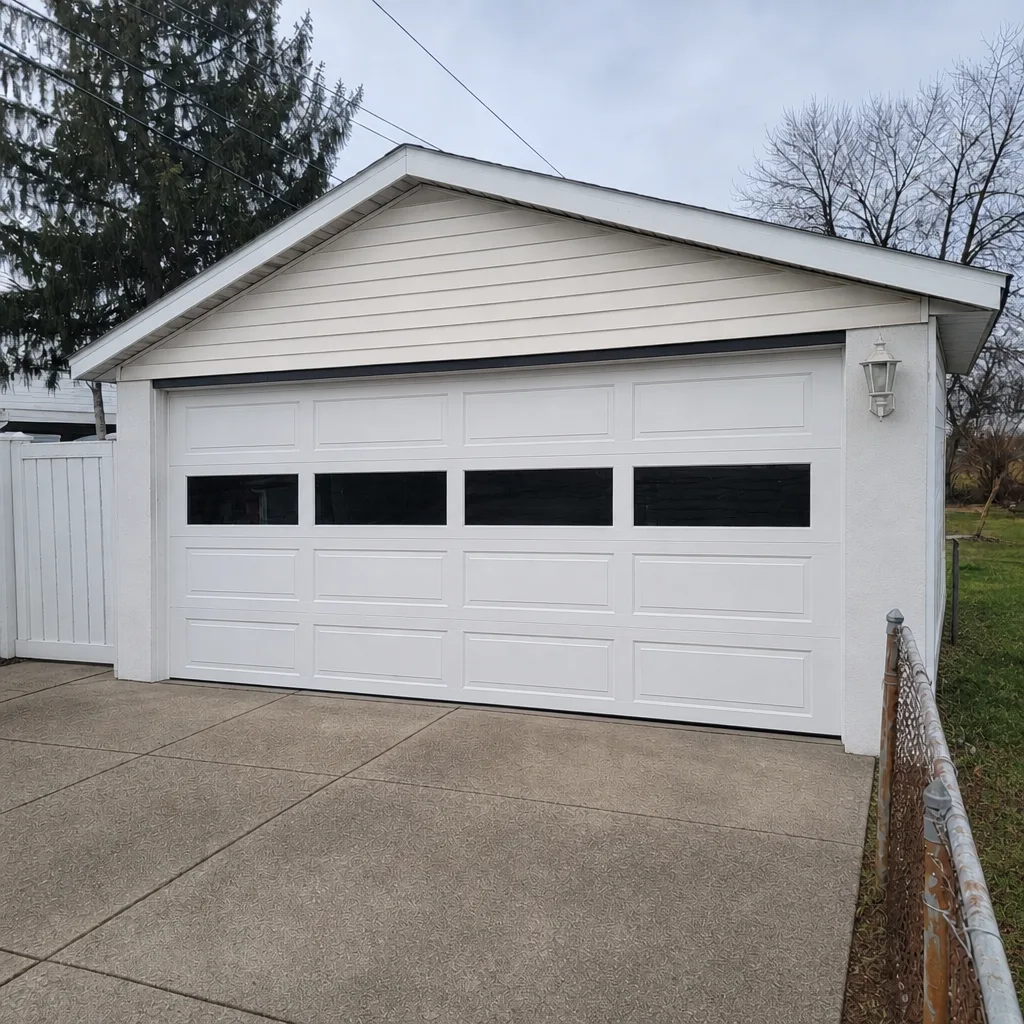 After
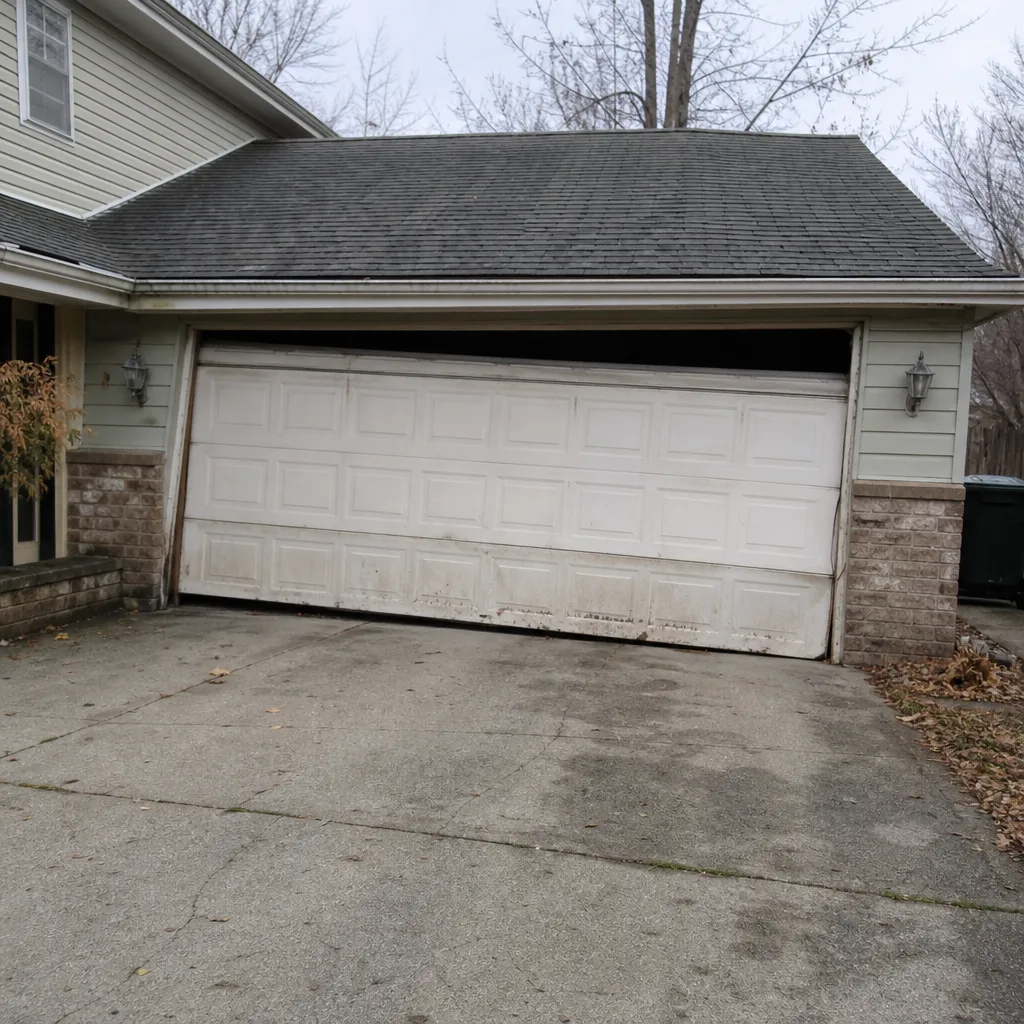 Before
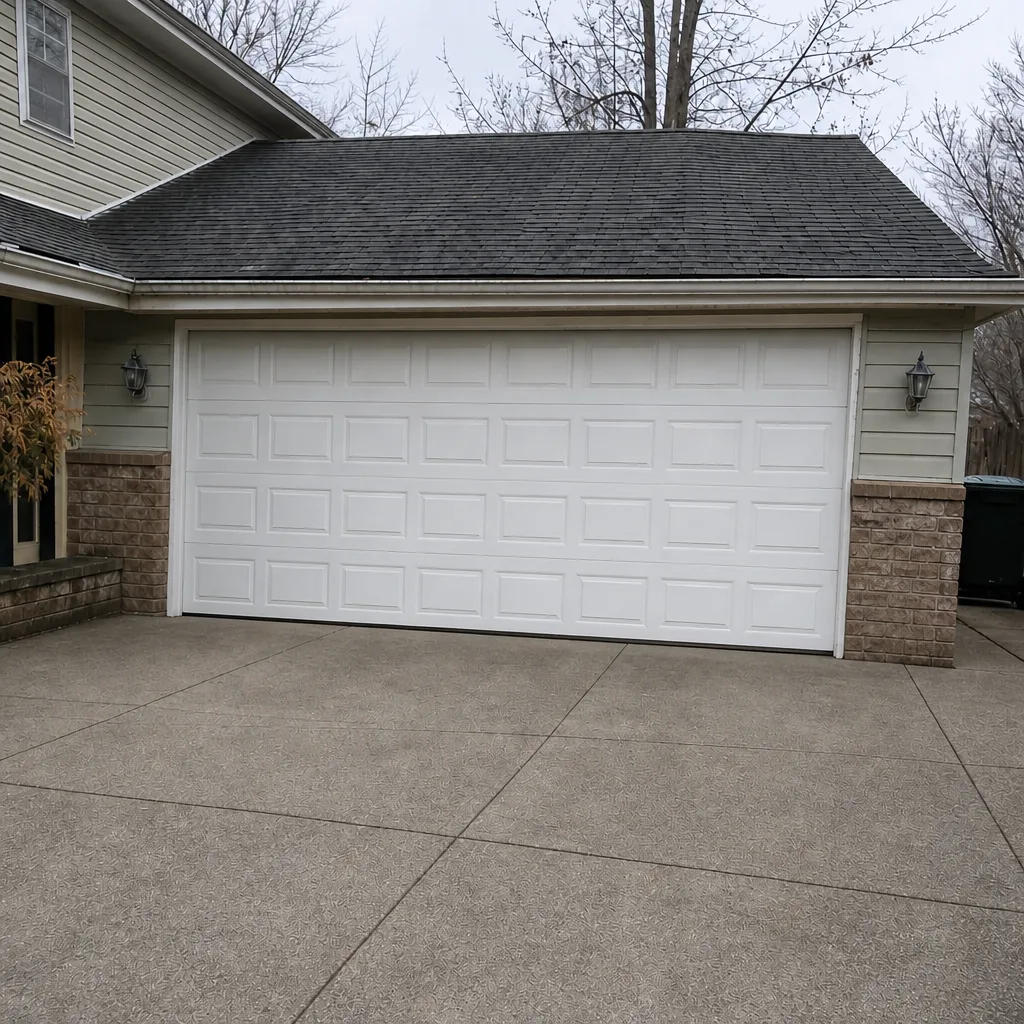 After
When to Call a Professional
Some maintenance tasks are genuinely homeowner jobs: lubricating, checking seals, keeping a log, and watching a cycle. Others are not, and it’s worth knowing exactly where the line is. Call a technician when any of the following is true: the balance test shows the door won’t hold in two or more positions; the spring is broken or visibly slack and rusted; a cable is frayed, kinked, or loose on one side; the door is crooked in the track; the opener reverses or stops unexpectedly; or the door has stopped moving entirely and you need emergency garage door service. High-tension springs and opener limits under a binding door are the two places where DIY is how people get hurt. It’s one reason we handle garage door repair across all the major residential platforms and treat spring work as a specialty rather than an afterthought.
Springfield Garage Door Repair Experts offers free estimates in Springfield. A technician can diagnose the door, springs, and opener in a single visit, and we work on the brand that’s already in your garage – LiftMaster, Chamberlain, Genie, Clopay, Amarr, Wayne Dalton, Craftsman, or Raynor. Call (855) 684-9798 to get on the schedule.
Frequently Asked Questions
Twice a year is a good default – once in early spring before the wet season and once in late fall before the cold. In Springfield, the shift from humid summer to cold winter stresses the door’s balance, seals, and rollers more than most of the year, so those two check-ins catch the biggest seasonal shifts. If you don’t have the time, an annual technician visit plus a log of anything you notice in between does most of the work.
You can check the balance test – whether the door holds in place when you lift it by hand – because that tells you about the spring’s effect without touching the spring. What you should not do is wind, adjust, or replace the spring itself, or check the torsion spring’s actual tension by hand. Springs are high-tension parts, and DIY spring work is where a lot of serious injuries happen. If the balance test fails, call a technician. For spring work in Springfield, our garage door spring repair team handles it with the right tools for your door.
Lubricate the rollers, hinges, hinge pins, and springs with a lithium or white grease – not WD-40 and not silicone spray. Use a heavier grease on the springs and hinge pins where moisture is common; a spray silicone washout in wet weather leaves those parts dry. Nylon rollers run dry or with a light spray, and steel rollers take a light spray at the bearing. Anything that’s already grinding, wobbling, or flat-spotted should be replaced, not lubricated.
The most common causes are a misaligned safety sensor, a travel limit that’s set too high, or a door that’s out of balance. Check the sensors first – they should have a clear line between them, no cobwebs or debris. If the sensors are clear and the door still reverses, check whether the door is still balanced (lift it by hand, see if it holds). If limiting or force adjustments don’t fix it, that’s a call. Call (855) 684-9798 – estimates are free.
Humidity is hard on the moving parts and the bottom seal. Springs and hinges collect moisture in the pivot points, so lubrication dries out faster and rust sets in more quickly. The bottom seal on the door frame pulls moisture underneath it, which is why a seal that keeps the water out during a wet stretch is worth more here than a seal that just looks fine on a dry day. Lubricate in early spring, not just in fall.
Yes, emergency garage door service is an active offering, not a premium add-on, and a door stuck open or unable to move at all is the reason it exists. Call (855) 684-9798 and we’ll discuss timing and get a technician out as soon as we can. If it’s a broken spring, the fix likely needs parts and scheduling – and we’ll tell you that honestly when we see the door, because we’d rather fix what’s broken than replace something that’s still good.
The Bottom Line
Sequence is the whole point of this checklist. Run the cycle first, check the balance before you adjust anything, look at cables and drums before you lubricate, and leave the opener’s limits and force settings for last, because every setting is only as good as the door it’s calibrated to. The tolerance checks – the balance test holding at every position, no daylight across the bottom seal, no visible play in the cables, no bends in the track – are what tell you when something is genuinely out of range and not just due for maintenance. Keep a simple log, photograph the door tag, and call a pro the moment a spring, cable, or balance problem shows up. For the rest, a twice-a-year routine will carry a Springfield door a long way. One call covers the door, the springs, and the opener. Call (855) 684-9798 for a free estimate.
Written by the team at Springfield Garage Door Repair Experts.
Our technicians have up to 15 years of experience. We connect Springfield homeowners with independent, licensed and insured local professionals who perform the work. Estimates are free, and the written estimate sets the final price before any work begins.